If you are interested in learning how to Export Contacts to Excel then this article will show you just that. Exporting contacts can be really useful if you are interested in exporting certain information, mainly basic contact information (i.e. Emails, Phone Numbers and etc.) to hand over to a company for canvassing purposes or perhaps just to have a list of names and addresses you like to have in a printed form, the reasons can vary. I want to show you exactly how you can achieve this in MarketSharp.
Step One: Creating a Filter
The first thing we need to do is generate a list of contacts in order to export them. MarketSharp has 3 different contact type designations in our CRM. The three types are Prospect, Leads, and Customers. Each type has its own section in the contacts section in MarketSharp. By default, each contact type has a filter that will allow you to see "All prospects" or "All Leads" and so forth. If this is something you wish to have then just navigate to the contacts tab.

Once in the contacts section, if you look over on the left hand side of the screen you will see a contact type and an arrow that will allow you to choose between the different contact types.
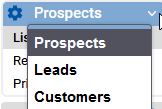
For this example, choose Leads.
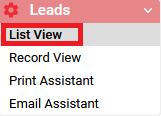
Beneath the name of the contact type you will see 4 different options
- List View
- Record View
- Print Assistant
- Email Assistant
In order to create a filter, make sure you select the List View.
You will now come to the List View section.
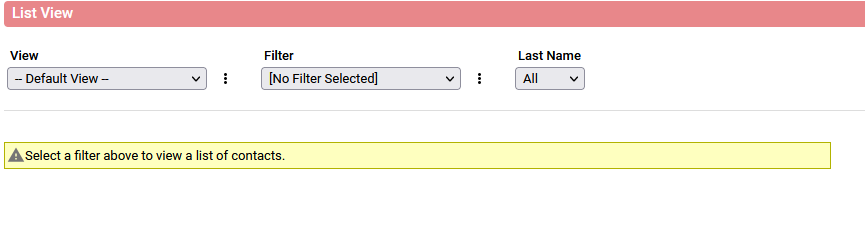
As seen in the above illustration, you have 3 drop down menus. The View drop down, which we will cover later is what determines the information that will be displayed in this section. The filter allows you to search for contacts in the database using you're own search criteria. Last name is a fast way to allow you to sort through all your results by a certain letter. (For example only wanting last names that start with F).
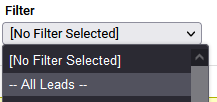
If you do not wish to create a filter and just have all your leads, click on the filter drop down and choose the default All Leads filter.
The problem here is that this may be too many leads for the purpose of what you are trying to accomplish

For example, my database has 1267 leads and this will be leads from years past to present day. Utilizing the filter will help you to sort this more accurately to something more reasonable. Let's create a filter that will only look for contacts that have an inquiry date after 12/31/2021 and therefore will give you all leads from 01/01/22 to Present.
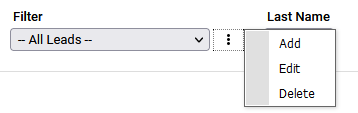
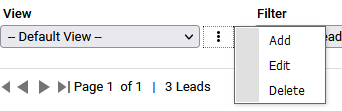
To add a filter, click those 3 dots to the RIGHT of the filter drop down and choose Add.
Name the filter 2022 Q1 Leads.
In the Search Column drop down, choose the option for Inquiry.Inquiry Date.

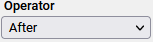
For the Operator, choose AFTER.
and in the Search Value box either click to open the calendar or enter the date with your keyboard of 12/31/2021.

To test to see how many leads this will net us, click the GET COUNT button at the bottom.
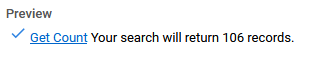
For my results I yielded 106 records, but I am still wanting to narrow this down a bit more. As the name of the filter suggest, I am interested in seeing how many leads are still in the system as a lead for the first quarter of the year. To do this I will cap off my inquiry date by adding another row to my filter. To do this click the Add Row button.

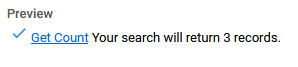
Search for the same Inquiry.Inquiry Date option in the Search Column. This time choose BEFORE for the operator and enter 04/01/2022 for the Search Value.

Click GET COUNT again to see your new result.
Click Save.
Now the List View section will display the results from your filter. The next step is to look at our view. Unless you have created a view, Default View is generally the option seen on the View drop down list.
The default view displays the following:
- Last Name
- First Name
- Address Line 1
- City
- State
- Zip/Postal Code
For this example, I only want you to export First name, Last name and the Email address of these leads so I can hand them over to an email canvasser that will send out some emails to these leads in the hopes of scheduling an appointment.
Step Two: Create a View
We will have to create a new view for this. Click the three dots to the RIGHT of the View drop down list.
Choose Add. If you try to edit the default view, it will throw up an error.

So be sure to click Add.
Name the View - Email Export View.
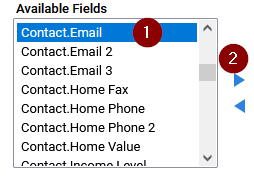
You can also see that by default, MS adds in the first and last name contact fields for you, this will definitely make this easier for you. Scroll on the left side and locate the Contact.Email field and highlight it by using the left click. Now click on the arrow that points to the right box to have this field move over to the display fields box.
Click Save.
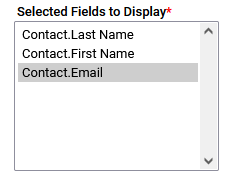
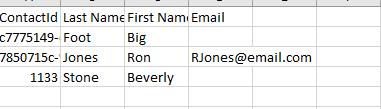
Now we will see our view of this filter has changed to reflect the first and last names and the email address.

Step Three: Exporting to Excel
The last step is to export this to Excel. All you have to do is click to Export link over on the right.
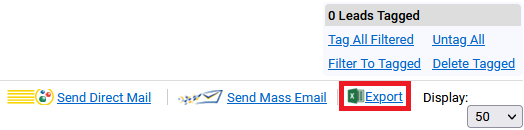
Click this link and it will start downloading and your internet browser's download folder will now display the Excel file. Click the file to open it in Excel.
There you have it. This is how you can build a filter and export your filter to Excel.