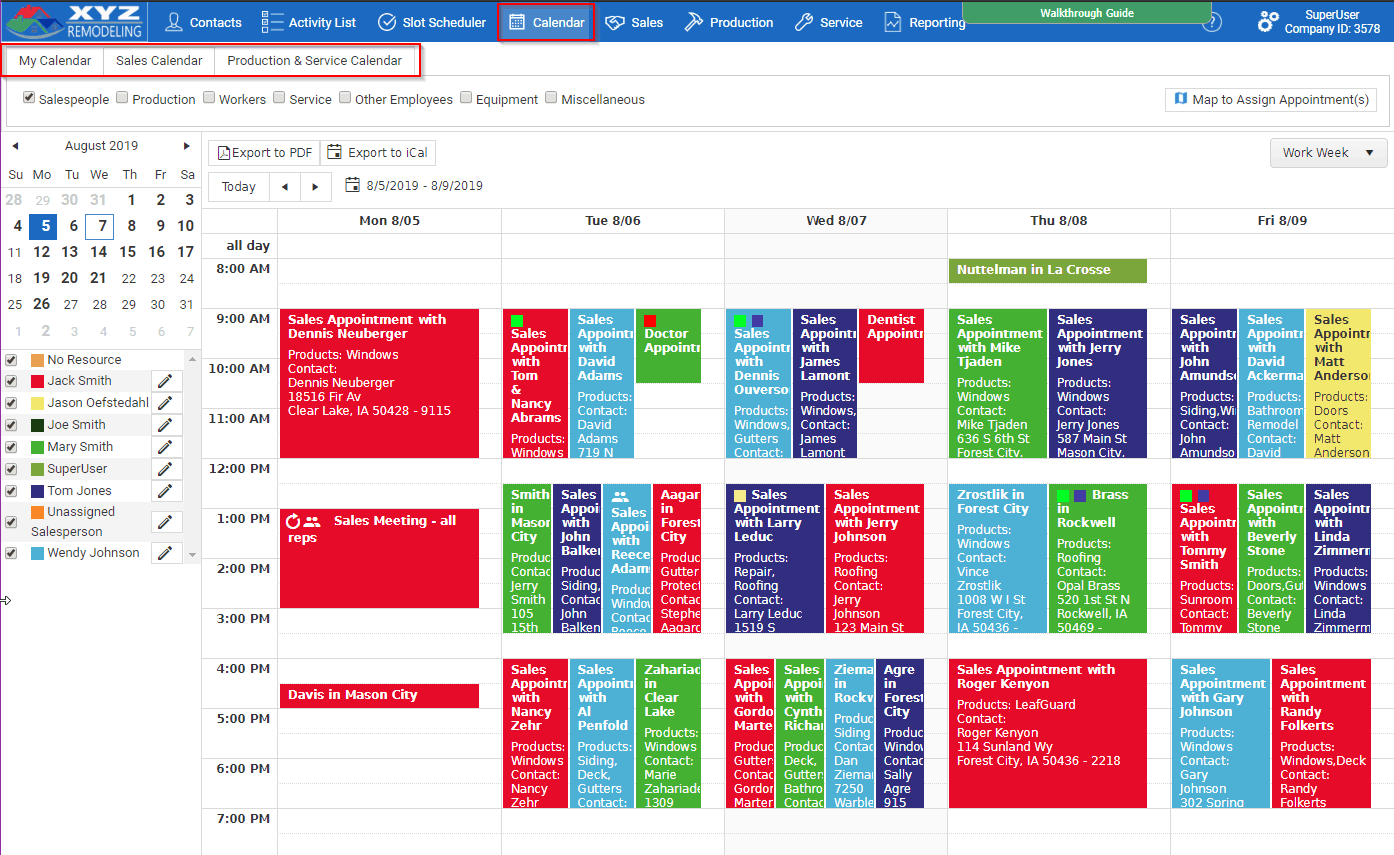
The Calendar allows for any kind of scheduling such as, scheduling appointments, installations, or even just scheduling an employee's vacation time. The My Calendar tab displays appointments for the current user. The Sales Calendar tab displays all appointments for users defined as a salesperson employee type. The Production and Service Calendar tab shows all work orders and production work for all users defined as service or work crew employee types. Each calendar has the ability to add, edit, and delete appointments as well as customize which resources are displayed.
 Resource Groups correspond to employee types. Each employee is assigned an employee type by the MarketSharp Administrator. Selecting a resource group will display the names of the employees assigned to that employee type under Resources. Select which employee’s calendars to view.
 The left hand navigational calendar always shows the current date highlighted. Select any date on the calendar to view its appointments.
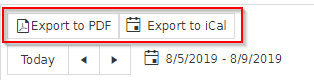
 There is an option to Export to PDF or Export to iCal as well
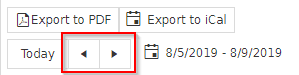
 The arrows are used to advance to a later date. In Day view, the arrows will advance the date by one day. In Week or Month view, it will advance to the next week or month.
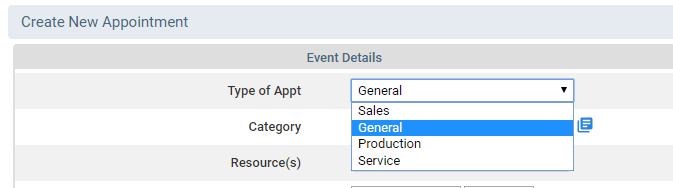
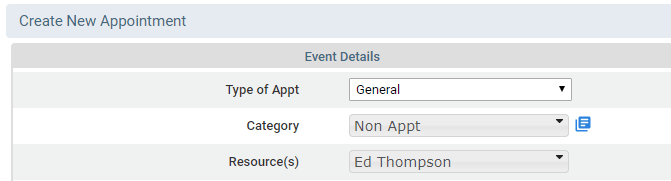
 Select General under Type of Appointment
 Enter a category (optional). This is also an editable drop-down.
Select a Resource.
Enter a category (optional). This is also an editable drop-down.
Select a Resource.
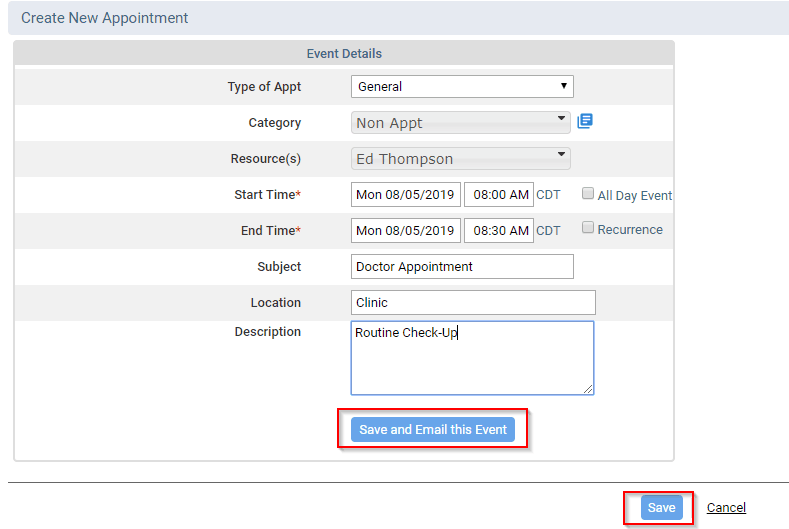
 Verify the Start Time and End Time are correct, if not make the necessary changes
 This is also where recurring appointments can be setup by putting a check mark in the box next to Recurrence.
Enter a subject, location, and description if desired.
Click Save or Save and Email this Event to send an email to the user marked as the Resource.
This is also where recurring appointments can be setup by putting a check mark in the box next to Recurrence.
Enter a subject, location, and description if desired.
Click Save or Save and Email this Event to send an email to the user marked as the Resource.
 NOTE: To learn how to setup a Sales Appointment, check out this article: Calendar Overview
 If a contact cancels an appointment, it may be best to remove it from the calendar, but not delete the appointment entirely (or remove the date/time).
To do this, left click the appointment on the calendar and click on Jump to Contact.
Once on the Contact Record, go to the the Inquiries & Appointments tab and then click Edit next to the appointment that should be hidden.
Next, select the Hide in Calendar check box and hit Save.
If a contact cancels an appointment, it may be best to remove it from the calendar, but not delete the appointment entirely (or remove the date/time).
To do this, left click the appointment on the calendar and click on Jump to Contact.
Once on the Contact Record, go to the the Inquiries & Appointments tab and then click Edit next to the appointment that should be hidden.
Next, select the Hide in Calendar check box and hit Save.

Calendar Functionality
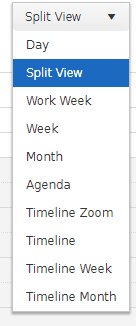
Select to view a single day, week, month, year, or daily time line by choosing from the drop-down. The Agenda displays details of the day’s appointments.
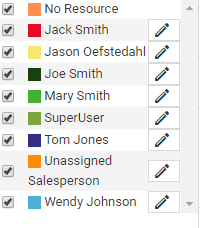
Resource Groups correspond to employee types. Each employee is assigned an employee type by the MarketSharp Administrator. Selecting a resource group will display the names of the employees assigned to that employee type under Resources. Select which employee’s calendars to view.
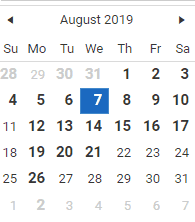
The left hand navigational calendar always shows the current date highlighted. Select any date on the calendar to view its appointments.
There is an option to Export to PDF or Export to iCal as well
The arrows are used to advance to a later date. In Day view, the arrows will advance the date by one day. In Week or Month view, it will advance to the next week or month.
Setting a General Appointment
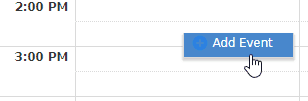
Right click the time on the calendar for which the appointment should be set and choose Add Event
Select General under Type of Appointment
Enter a category (optional). This is also an editable drop-down.
Select a Resource.
Verify the Start Time and End Time are correct, if not make the necessary changes
This is also where recurring appointments can be setup by putting a check mark in the box next to Recurrence.
Enter a subject, location, and description if desired.
Click Save or Save and Email this Event to send an email to the user marked as the Resource.
NOTE: To learn how to setup a Sales Appointment, check out this article: Calendar Overview
Edit/Delete an Appointment
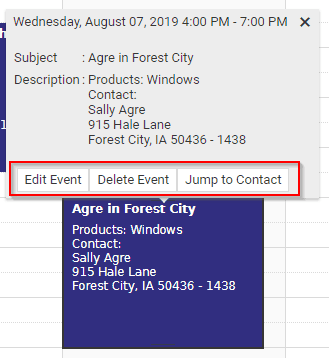
To edit or delete an appointment on the calendar, left click the appointment on the calendar. Select Edit Event to open the appointment, Delete Event to remove it, or Jump to Contact to go directly to the Contact Record. When an appointment is deleted from the calendar, it will just remove it from the calendar. The Contact Record will still have the appointment, but the date and time will be removed.
If a contact cancels an appointment, it may be best to remove it from the calendar, but not delete the appointment entirely (or remove the date/time).
To do this, left click the appointment on the calendar and click on Jump to Contact.
Once on the Contact Record, go to the the Inquiries & Appointments tab and then click Edit next to the appointment that should be hidden.
Next, select the Hide in Calendar check box and hit Save.